HTML Rotator
The HTML Rotator module creates custom slideshows that combine images and HTML text. It is broken up into two components:
The HTML Rotator, which is the container. It can have a title and introductory test, and it defines which output template to use and has a location property, which instructs the page template where to embed the rotator. Rotators cannot currently be embedded in editor-supplied body copy.
The HTML Rotator Slides, which are the individual elements in the rotator.
Depending on your website, the HTML rotator might be hard-coded into a template, like the home page. There, it is used to display important announcements or information that may need to be updated frequently, in contrast to the carefully hand-crafted layout of the rest of the homepage.
There is no limit to the number of slides you may have in a rotator, though they do all occupy a certain amount of memory, and can slow down page loads. 1-6 is the usual range.
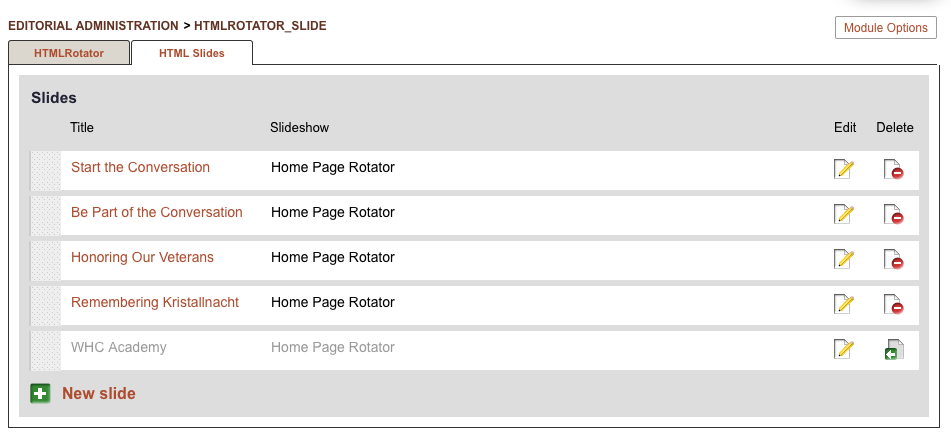
If you click to list the slides in your “Home Page Rotator”, you will see a listing of editing slides, and you can re-order the items, or click “New Slide” button.
Creating a new slide
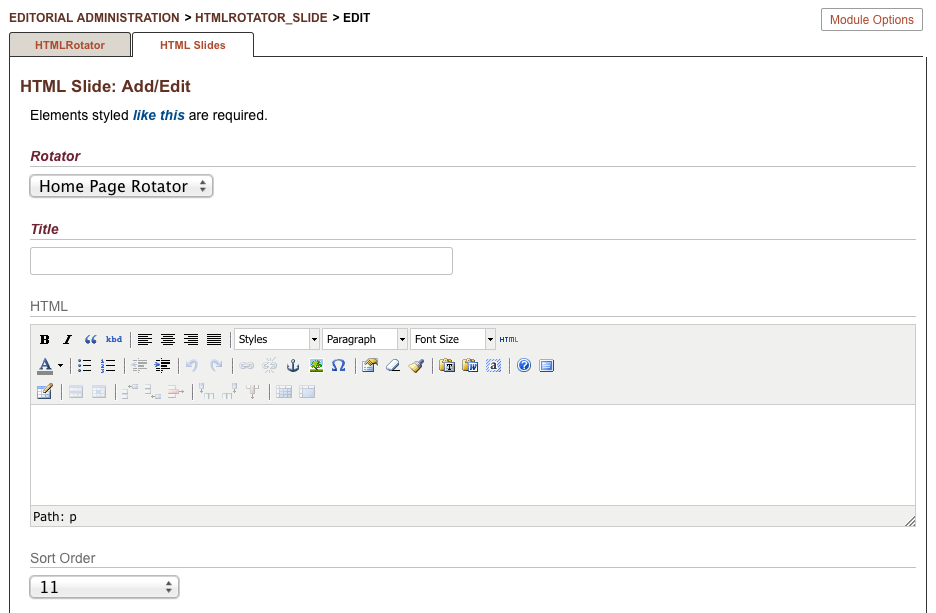
A new slide has 4 basic properties:
The HTML Rotator to which it belongs
A title, which may or may not be displayed, depending on the output template
HTML text, the body copy of the slide
Its sort order (or position in the rotation)
If your output template includes images, you can also select or upload an image in the usual fashion, and click “Use this image as an icon” checkbox to make it the default accompaniement image for your slide. Depending on your template, the image might appear alongside the text, below the text, or it may be used as a background image with your HTML as a text overlay.
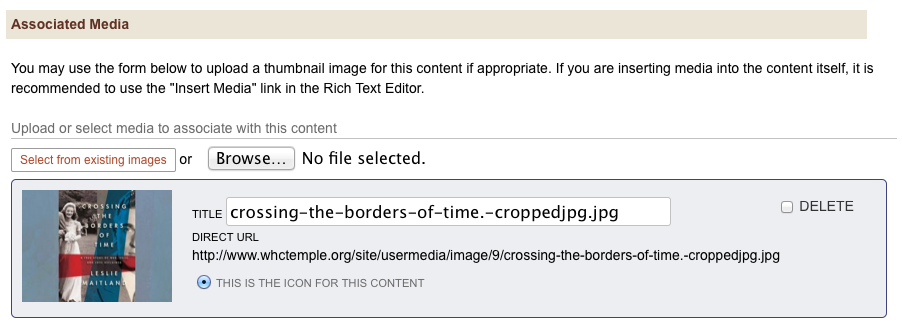
Since only the iconic image associated with the slide will be display, you can make your slides more re-usable by uploading multiple images to a single slide, and then selectively changing which one of them should be treated as the “icon” image.
Tip
This means that you could have a slide called “Holiday Service Hours,” and you could have 4 images, each representing a different holiday. Rather than constantly creating new slides four times a year, simply alter the text as needed, and change the associated holiday image to become the icon!