Media Browser
The Media Browser is one of the most powerful tools in Manifesto. All image uploads, media files, PDFs and downloadable files are stored consistently, and with a full set of metadata for characterizing your uploads, from title and caption to keywords and taxonomies. This makes all of your uploaded files easy to find, and reusable across your entire website.
The uniform handling of file uploads also allows Manifesto to ensure rigorous validation and sanitization of user-contributed files, to keep you safe from malicious hacking attempts.
Uploading files
Most of the time, when you need to upload a file to Manifesto – whether embedding a photo in blog post, uploading a product shot, or making a PDF available for download – you will upload through the Media Browser upload tab.
The interface is simple:
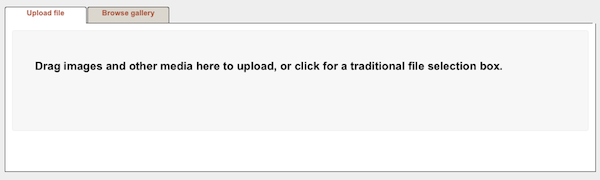
Simply drag one or more images, audio files, PDFs, Word documents, or other media onto the target zone indicated by the grey area. For backwards compatibility, you may also click anywhere on the area to bring up a standard file selection box to locate and upload a file from your computer.
As the upload takes place, the inteface will change to display the upload progress of hte files, and they will take their place within the respository.
Once they are uploaded, Manifesto attempts to glean as much information about the file as possible, including the filename, MIME type (what kind of file it is), and in the case of digital photographs, it will attempt to read metadata from the image file itself, such as the date and time the photo was taken.
Bear in mind that Manifesto enages in a variety of checks to prevent malicious files from being uploaded. The most straightforward of these is to ensure that the file extension or suffix (e.g. “.jpg” or “.doc”) matches the actual file type. This prevents malicious users from uploaded a javascript with an extension of “.jpg” for example. A by-product of this strict policy is that images with incorrect or missing suffixes will not be displayed on the site until the discrepancy is resolved.
There are also module preferences that allow you to restrict uploads to specific User Roles, or to require editor approval before displaying some file types (for sites that allow public uploads).
Selecting and inserting media
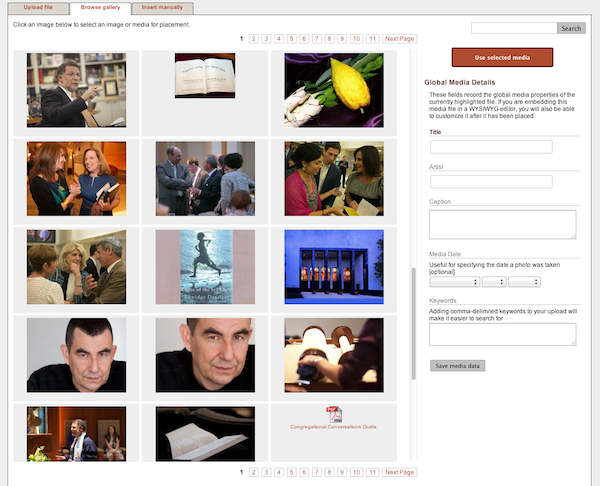
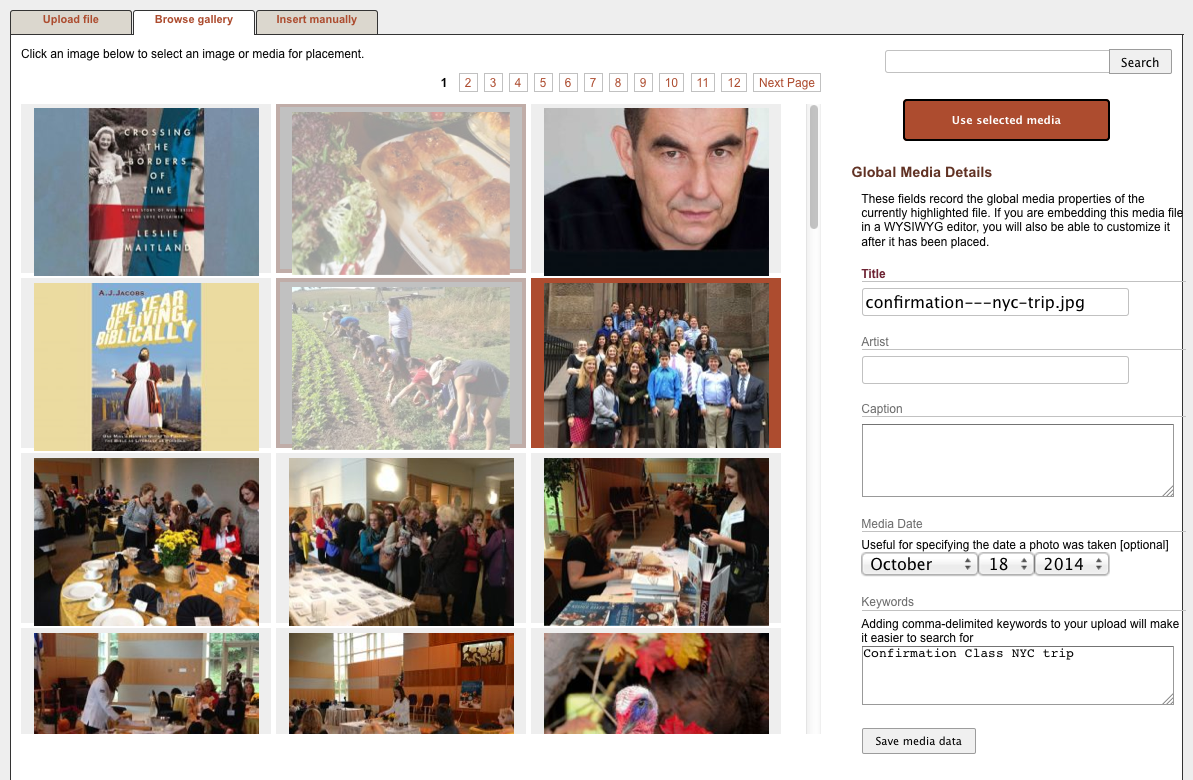
By clicking on any file in the repository grid, details about that file will appear on the right-hand side of the Media Browser window. Here, you can edit information about the file, such as title, artist/owner, caption, etc. These values act as default attributes when using the media (for example, when embedding a photo in a blog post), but can be overridden on a case-by-case basis.
From the repository grid view, you can click on an image, and then click the “Use Selected Media” button to insert it into your content. If you click on an image while holding down the ALT key (Command on a Mac), you can select more than one file at a time to place (each selected image will appear semi-opaque). When you click “Use Selected Media” each of the media will be attached to your content in turn.
Note
Please note that, while images are obviously placed by inserting the image into your copy, other files such as PDFs or ZIP archives may appear as representative icons instead.
Options when inserting media
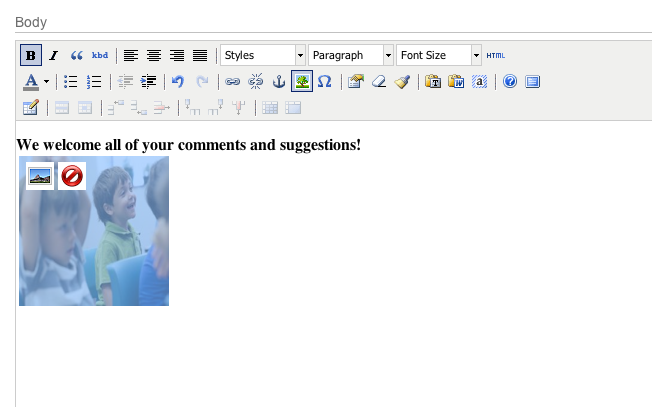
After placing the media within your content, you will notice that it only appears as a square placeholder. This is intentional, to preserve space within the editor, but your image will ultimately be displayed on the page with the parameters you specify.
Clicking once on the placeholder image reveals an overlay with two icons: one to delete the image, and one to edit the properties of the media for this specific instance.
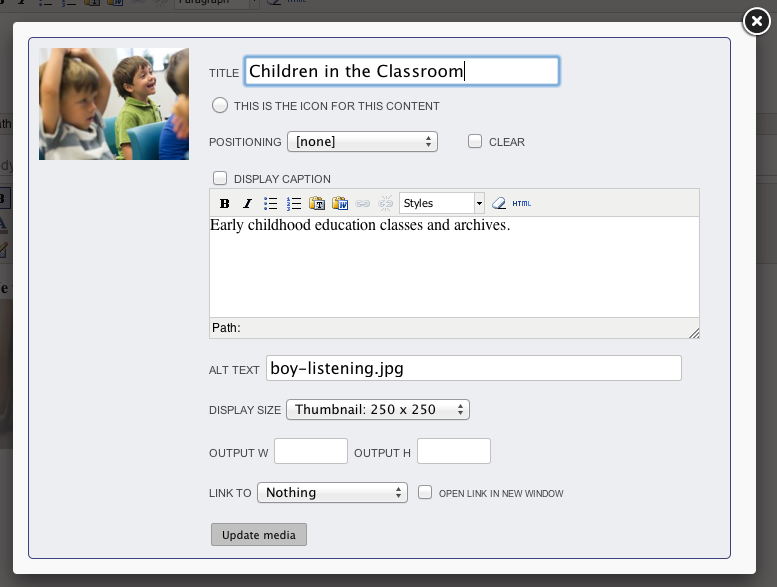
The interface for specifying details of media usage
The Title of the media is largely for reference, though some output templates may choose to display it. The other options are described here:
This is the icon for this content
Sometimes an image needs to be associated with a content object without being embedded in body copy anywhere – perhaps a thumbnail is designed to be displayed alongside the title the listing page. In such a case, we need to designate one of the uploaded images as the official “icon” that should be used. This is called the icon, and it is selected by checking this radio button. Only one icon per content object can be selected.
Positioning
This drop-down menu offers a selection of positioning options that allow you to specify how your media is to be placed. By default, images are wrapped in a <figure> tag (which allows it to be kept with a caption), and will appear on a line by themselves, with no specified alignment. The other options, e.g. “top-left” allow you to have text wrap around the image. If you need to have your image displayed in line with the text, select inline from the menu.
Clear
The clear checkbox tells Manifesto to insert the image only after clearing any earlier text that may have been wrapping around another image.
Display caption/Caption
If you wish your placed image to have a caption, check the checkbox and enter your caption. Any default caption from the Media file will already appear in the text area, but you may alter it on a case-by-case basis.
ALT Text
To provide an ALT text attribute for your image (a standard for acccessible content), enter it here. By default, the filename will appear here, but it is not recommended to use filenames as ALT attributes.
Display size/Custom W x H
Manifesto creates 3 different versions of all uploaded media:
The full-size imaage as it was uploaded
A page-size image suitable for body copy (usually ~600 pixels, configurable)
A thumbnail image to be used for icons and smaller placement (usually ~250 pixels)
Some modules can specify that Manifesto create additional sizes for specific usage. If so configured, those sizes will appear in this menu as well. To avoid using excessive bandwidth, you should only insert the variation of image that will suit your needs. You may also specify a custom width or height for your image. Only one of these parameters is required; the image will always be resized to maintain the proper aspect ration.
Link to…
You may want users to be able to click on your image and be sent to another page. Your options here are
None (do not link the image to anything)
Media Gallery (view this image in the Media Gallery. NB: The Media Gallery is not guaranteed to be in use on your website, so check with an administrator before selecting this option)
Fancybox (this makes the full-size image appear in a lightbox interface)
Raw file (link directly to the full-size version in its own window)
URL Selecting this exposes a text input box where you may enter any URL you wish to link to
Checking the Open in new window checkbox will open any URLs in a new browser window.
After making your selections, the modal window will close and your image will be updated.